Sourdough Basics
- May 26, 2023
- 3 min read
Updated: Apr 17, 2024


Download my free Sourdough Basics PDF printable, including my master dough recipe!
Watch a 60 second video of my easy everyday sourdough method:
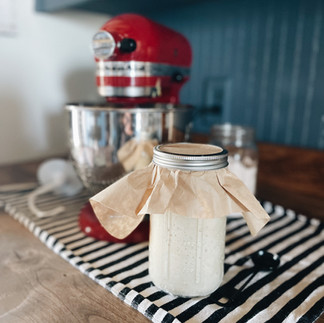
Maintaining your starter
Feed a 2:1 ratio of flour to filtered water
We use 1/4 cup organic whole wheat flour, 3/4 cup organic all-purpose flour, and 1/2 cup filtered water to feed ours
It's fine to use whatever flour you have, but keep the ratio about 2:1
Make sure when you stir together your remaining starter, flour, and water that all the flour is moistened in the jar
It'll be thick and sticky after feeding and thats ok, after 6-12 hours it will have filled the jar and will be bubbly and more fluid (like thick pancake batter)
Temperature and season can affect how long it takes to become vigorous and the consistency of the starter
The important thing is seeing bubbles and that it about doubles in size
You can always change the size of jar and amount of starter you are maintaining depending on how many loaves you will bake at once
I bake a lot, so I often keep mine in a 1/2 gallon mason jar, but for enough starter for a single load a quart jar will work just fine
Feed every day and when you do either dump out half of your existing starter before feeding and save it for later use (google "sourdough discard recipes") OR go ahead and bake with that portion and then feed the remainder
Keep your starter jar covered with a cloth or a coffee filter and use a rubber band or the ring portion on the mason jar lid to secure it, it needs to breathe!
If you are not going to be baking for awhile, feed your starter and then pop it into the fridge with a lid on it. This will slow down fermentation enough that you can take it out, feed it, and bake once a week.
You can leave it unfed for up to two months in the fridge but you will need to feed and discard about 3 times to reinvigorate it before baking if it has been dormant for that long
If a dormant starter gets a layer of greyish water on top that indicated that the starter is starving. It's not harmful, just pour it off and feed.
Baking Basics
Sourdough is a soft dough, but it shouldn't be super slack or it may not rise well
There's not a lot of active work involved in baking sourdough, but you do need to plan on being home for 5-6 hours so you have time for multiple rises
Just like with the starter, the temperature and season will play a roll in how quickly the dough will rise
With the first two rises I do them on a schedule no matter how much the dough has risen, the final rise is where you might have to wait 2-3 hours to achieve the loft you want
Between rises handle the dough gently, do not punch it down and completely degass the dough, you want some bubbles to stay in there
The idea is to do multiple gentle "stretch and folds" or shaping rounds in order to allow the yeast access to more surface area and food so that the dough will eventually rise enough to bake
Do score the dough and make sure your knife is super sharp - I sharpen mine every time I bake! Scoring allows the load to continue expanding once in the oven. When the dough hits the heat, the yeast go into a frenzy and scoring allows some of the gasses to escape as the bread puffs up and gives the loaf room to expand instead of trapping them inside as the crust hardens
Method
Some of you may not like this, but my sourdough master recipe does not have any actual measurements! That's just how I roll. You eventually get a feel for what a good dough looks, feels, and behaves like. I use the exact same method to make the dough for every type of bread - artisan boule, sandwich loaf, baguettes, bagels, pretzels, you name it. The only thing that changes is how I shape and bake at the end. My process is: MIX, RISE, STRETCH & FOLD, RISE, PRE-SHAPE, REST, SHAPE, RISE, BAKE


Comments